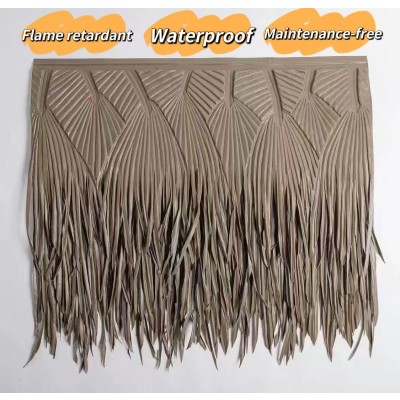
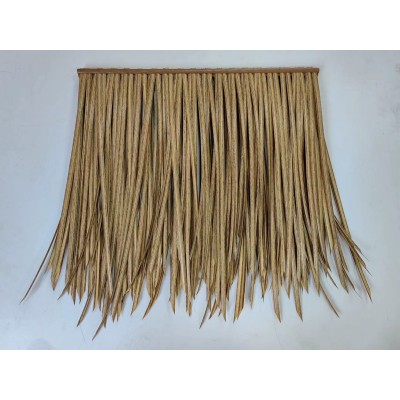
"Artificial thatch Installation Guide"
"Artificial thatch Installation Guide"
In the pursuit of a natural and unique architectural style, artificial thatch has become the choice of many people with its realistic appearance, durable characteristics and easy installation. Here is a detailed introduction to the installation process of artificial thatch.
1. Preparation before installation
Tool preparation
Tape measure: Used to measure dimensions.
Basic tools such as screwdrivers and wrenches.
Special thatch installation tools (if available).
Safety equipment, such as helmets, gloves, etc.
Material preparation
Artificial thatch: Calculate the required amount according to the installation area to ensure that there is a certain margin.
Keel: can be made of wood or metal to support the thatch.
Screws, nails and other fixing materials.
Site clearance
Clean the installation area of debris, dust, etc., to ensure that the base level is smooth and clean.
Check whether the installation surface is cracked or raised, and repair it if necessary.
Second, installation steps
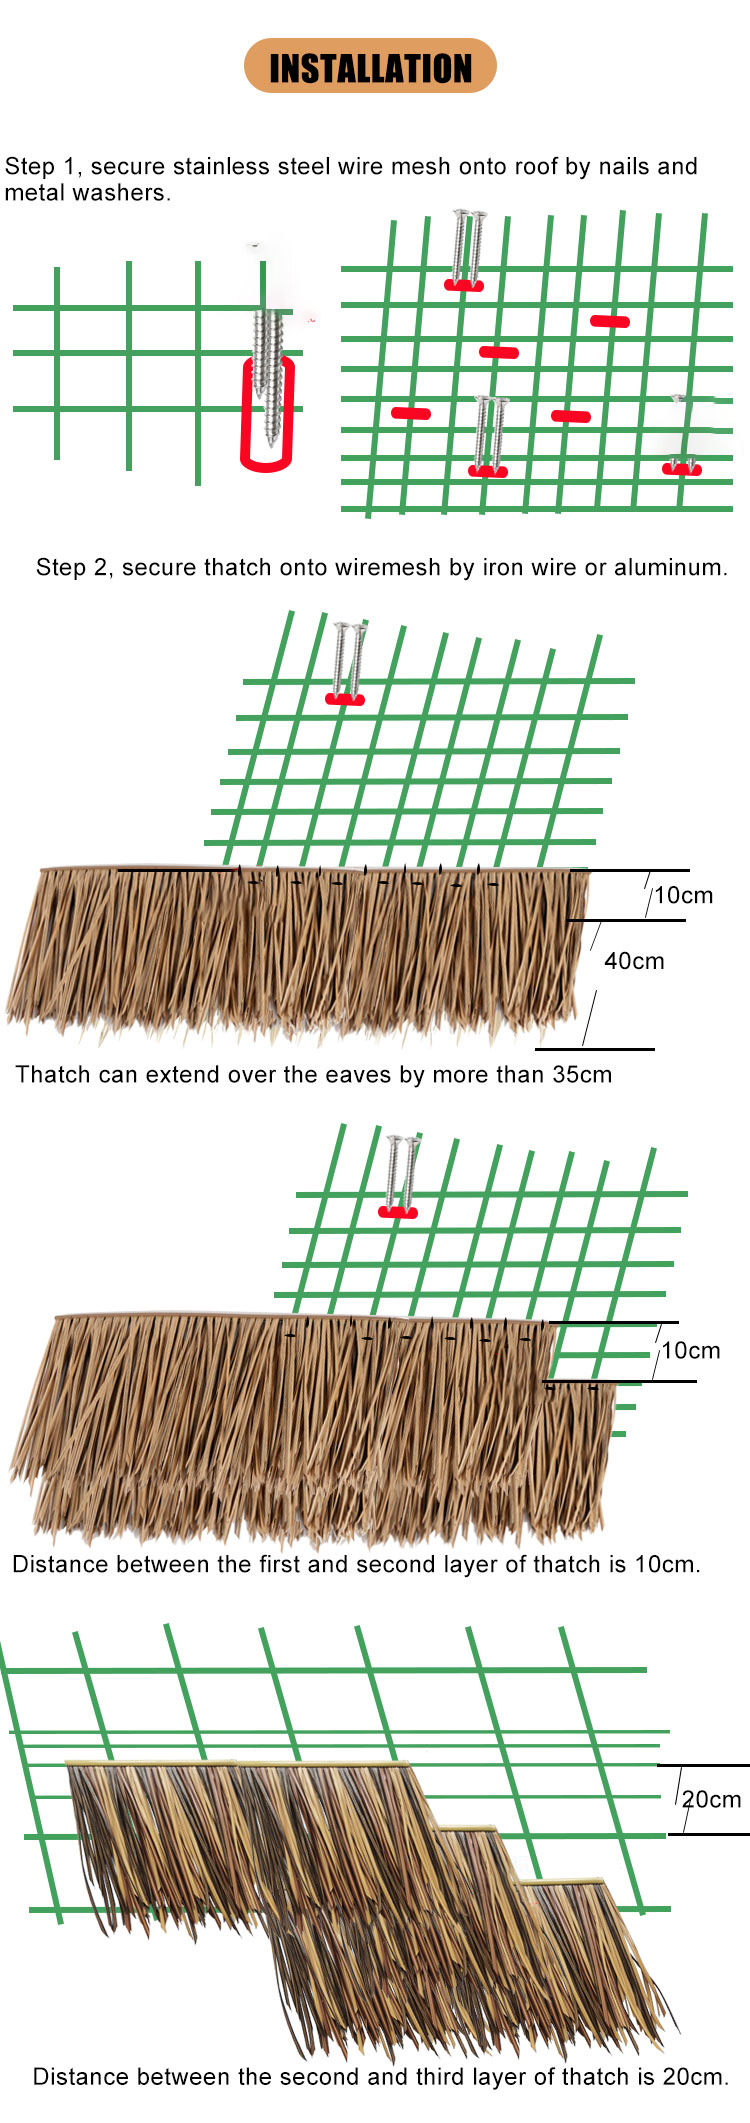

Keel mounting
According to the installation area and design requirements, determine the keel layout. In general, the spacing of the keel should not be too large to ensure the installation of the thatch.
Attach the keel to the mounting surface using screws or nails. Ensure that the keel is installed horizontally and firmly, so as not to affect the subsequent installation effect of the thatch.
Lay artificial thatch
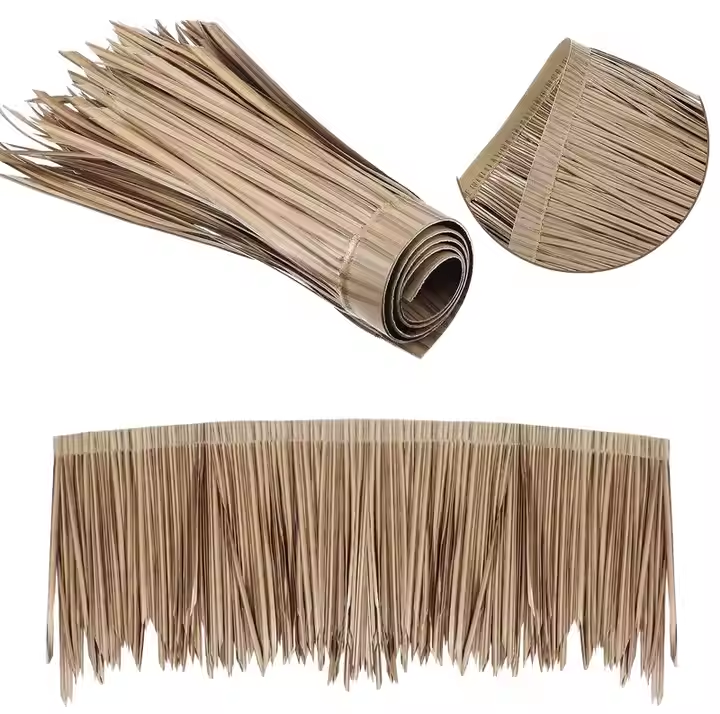
Open the artificial thatch package and unroll the thatch to check for damage or blemishes.
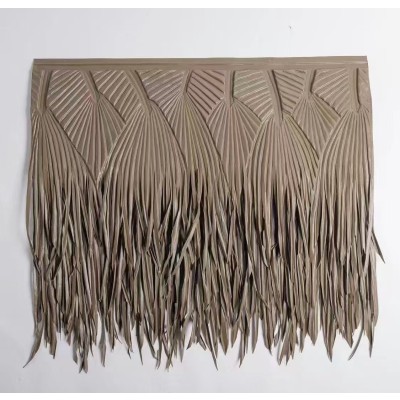
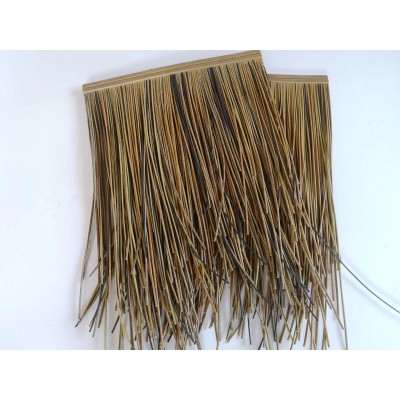
Starting at one end of the mounting surface, lay the artificial thatch on the keel in turn. Be careful to keep the thatch in the same direction to create a natural effect.
The thatch can be fixed to the keel using special thatch mounting tools, or fixing materials such as screws and nails can be used. When fixing, pay attention to moderate strength, so as not to damage the thatch.
thatch
When the thatch is laid, the thatch is trimmed according to the shape and size of the mounting surface. Use scissors or knives to trim off excess thatch so that the edges of the thatch are neat and beautiful.
Be careful when pruning to avoid damaging the overall effect of the thatch.
Check and adjust
After the installation is complete, the artificial thatch is thoroughly inspected. Check whether the thatch is securely installed, loose or falling off.
Check whether the appearance of the thatch is natural and beautiful, and adjust it if necessary.
Iii. Precautions after installation
Periodic inspection
Artificial thatch after installation needs to be checked regularly, especially after inclement weather. Check whether the thatch is damaged, loose, etc., and repair it in time.
Cleaning and maintenance
Artificial thatch is generally easier to clean and can be rinsed with water or wiped with a soft cloth. Avoid using corrosive cleaners such as strong acid and alkali to avoid damaging the thatch.
Regular maintenance of thatch can extend the service life of thatch.
Fire safety
Although artificial thatch has certain fire performance, it is still necessary to pay attention to fire safety during installation and use. Avoid using open flames or flammable materials near thatch.
In short, the installation process of artificial thatch is not complicated, as long as you follow the right steps, you can easily create a natural and beautiful thatch roof or wall. I hope the above content is helpful to you.
JHYBAMBOO artificial thatched bamboo fence common problems
