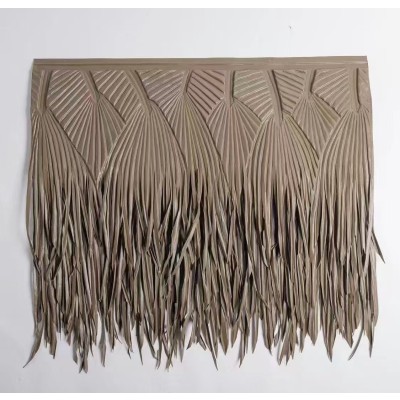
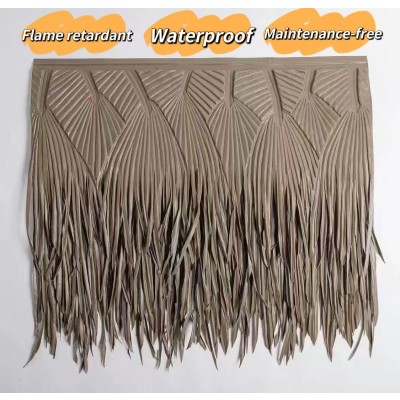
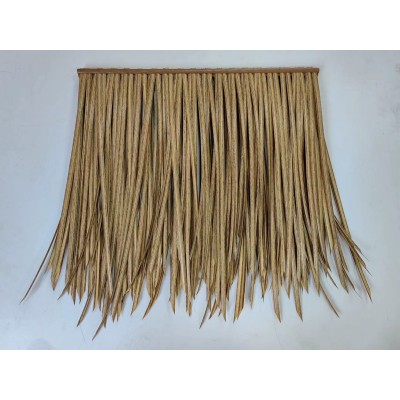
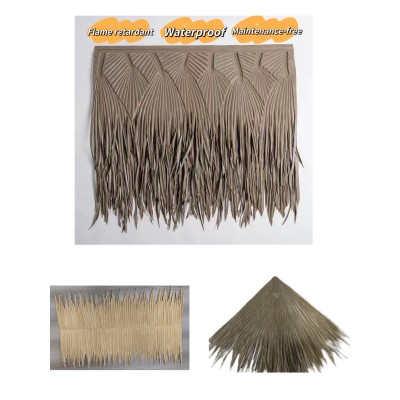
How to install an artificial thatched roof
The following are detailed steps for installing artificial thatch roofs
Preparation before installation
Artificial thatch roofing materials and tools prepared
Materials: Depending on the area and design of the roof, prepare a sufficient amount of artificial thatch, waterproof coils (optional, if the roof needs additional waterproof treatment), nails (rust nails are recommended), sealant, etc. Ensure that the quality of artificial thatch meets the requirements, check whether its color, texture is uniform, there is no damage.
Tools: Tape measure, utility knife, hammer, electric nail gun (to improve installation efficiency), level, safety rope (to ensure safety when working on the roof), etc.
Roof inspection and cleaning
Structural inspection: Before installation, carefully check the structural integrity of the roof. Check whether the roof truss is firm, and whether there is rotten, deformed wood or damaged steel structure. For the parts that have problems, they should be repaired or reinforced first to ensure that the roof can withstand the weight of the artificial thatch.
Surface cleaning: Remove debris, dust, moss and so on from the surface of the roof. If there is old thatch or other covering, remove it completely and make sure the roof base is flat and dry.
Installation procedure
Laying of waterproof coils (if required)
If the waterproof performance of the roof is not good or the area has high rainfall and high humidity, it is recommended to lay waterproof coils first. Starting from the bottom of the roof, lay upward along the slope of the roof, overlap the coils at least 10-15 cm, and use a special sealant or hot melt welding method to connect the coils firmly. Make sure that the waterproof roll has sufficient extension length at both the eaves and the roof ridge to prevent rainwater leakage.
Mounting start bar
Install starting strips at the edge of the roof (usually the eaves). The starting strip can be made of wood or metal and is used to secure the first row of artificial thatch. Use nails to securely attach the starting strip to the base of the roof, ensuring that it is level and accurately positioned. Calibration can be done using a level.
First row of artificial thatch installed
Take out the artificial thatch and align one end of it with the starting strip. Depending on the type of thatch and design requirements, use nails or a nail gun to secure the thatch to the starting strip. The spacing of nails should be uniform, it is generally recommended to nail one every 20-30 cm, be careful not to nail through the thatch, so as not to affect the beauty. The first row of thatch should be installed neatly and its edges should line up with the edge of the roof.
Follow-up artificial thatch installation
Starting from the second row, lay the artificial thatch on the roof in turn. Each row of thatch should overlap with the previous row of a certain width, the overlap is generally 1/3-1/2 of the width of the thatch, the specific value can be determined according to the size of the thatch and the design effect. During the installation process, ensure that the texture of the thatch is in the same direction to create a natural and beautiful effect. Use nails or nail guns to fasten the thatch to the base of the roof, taking care to stagger the position of the nails and avoid the same straight line to enhance the fixing effect of the thatch.
Ridge treatment
When installed at the ridge, the artificial thatched roof requires special treatment. The thatch can be trimmed to the right shape so that it fits tightly into the ridge. For some cases with higher design requirements, special ridge accessories can be used, such as ridge caps, etc., which are installed at the ridge, which can enhance the waterproof performance and make the ridge part more beautiful. Secure the thatch to the ridge fitting or seal the joint between the thatch and the ridge with sealant to prevent rain from seeping through the ridge.
Edge processing
At the edge of the roof (the edge of the gable, around the chimney, etc.), the artificial thatch should be carefully treated. Trim the roof of the artificial thatch so that it fits closely with the edges. For the parts that meet other building structures, sealant or metal strips can be used to seal and secure, ensuring that rainwater does not leak through these gaps.
Check and adjust
After the artificial thatching of the entire roof is completed, a full inspection is carried out. Check the fixed condition of the roof of the artificial thatch house, whether there is any loose or warped part; Check the overall appearance of the roof, whether the artificial thatched roof is neatly laid, beautiful, and the texture is consistent; Check that the parts treated with waterproofing, such as ridges, edges, etc. are well sealed. For the problems found, timely adjustment and repair.
Suggestions on cleaning and maintenance after installation
Clean up the scene
After installation, remove debris, leftover materials and tools from the roof and surrounding ground. Keep the remaining artificial thatch properly for future maintenance.
Maintenance tips
Check the artificial thatch roof regularly, especially after bad weather such as heavy rain and high winds. Check for damaged, displaced, or leaking thatch. If problems are found, fix them promptly. Avoid placing heavy objects on the roof of a thatch or performing activities that may damage the thatch. For stained thatch, you can use a mild cleaner and a soft brush to clean it, but avoid using too strong chemicals to avoid damaging the material of the thatch


