How to install a synthetic thatch roof?
How to install a synthetic thatch roof?
Installing a synthetic thatch roof involves the following steps:
1. Prepare the roof surface
Inspect the existing roof structure to ensure it is stable and capable of supporting the weight of the synthetic thatch.
Repair any damaged areas or leaks before installation.
Clear the roof of debris and ensure it is clean and dry.
2. Measure and plan
Measure the area of the roof to determine the amount of synthetic thatch needed.
Plan the layout of the thatch, considering factors such as overlap, pitch, and any architectural features.
3. Gather materials and tools
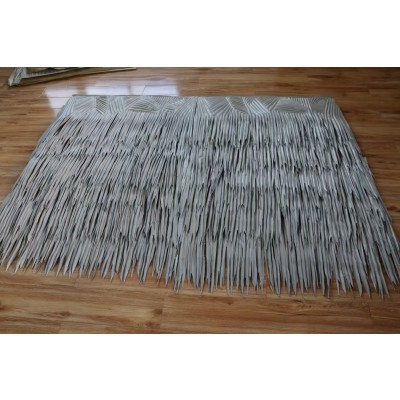
Synthetic thatch panels or rolls.
Roofing nails or screws.
Hammer or drill.
Stapler (if applicable).
Roofing felt or underlayment (optional).
4. Install underlayment (if needed)
If using roofing felt or underlayment, lay it down over the roof surface to provide an additional layer of protection.
5. Start installation
Begin at the bottom edge of the roof, working from left to right or vice versa.
Attach the synthetic thatch panels or rolls using roofing nails or screws. Make sure to secure them firmly to the roof structure.
Overlap each successive row of thatch to create a seamless and waterproof finish. The overlap should be in accordance with the manufacturer's instructions.
6. Trim and finish
Trim any excess thatch at the edges and corners to ensure a neat appearance.
Use staples or additional nails to secure the thatch in areas where it may be prone to lifting or shifting.
Inspect the entire roof for any loose or improperly installed sections and make necessary adjustments.
7. Final inspection
Once the installation is complete, conduct a final inspection to ensure the synthetic thatch roof is secure, properly installed, and aesthetically pleasing.
It is important to follow the manufacturer's instructions carefully and, if possible, consult a professional roofer for assistance with the installation to ensure a successful and long-lasting result.


